
First, grab a Guinness. Mmmm, such dark, yummy goodness. Ok, task at hand. This is my first real post and my first tutorial. Tonight I give you…Elsa’s dress from Frozen! I tried to buy this for months and have only been successful in being out bid at $125.00 on ebay for a used dress. So I give you my poor instructional… with beer!
Supplies: Sewing machine (honestly not necessary, but faster! I could have still made it without a machine), thread, beer, about 1 1/4 yards blue fabric (I got this material on sale for $5 a yard!), blanket binding stuff (you know, the satin ribbon stuff you sew around fleece blankets?), beer opener, buttons or clips or anything you use to help fasten up the back, and some tulle for the cape.
Step 1: Open the mother fucking beer and take a nice big gulp. Go pee, so you won’t have to in a few minutes.
Step 2: Measure the approximate length, giving leeway for the hem. I couldn’t find my tape measure, so I used a piece of yarn and measured from my kids arm pit to her feet. I’m sloppy, so I added a couple inches in case I messed up in some way. Fabric is sold folded in half, so I just assumed it was wide enough for my 7 year old. If your kid is really small, then cut it down a bit and if they’re a bit fluffier, you can easily add another panel to compensate.
Step 3: Drink. After I figured out how long it needed to be, I had to figure out where the slit was going to be. There needs to be a slit in the back because other wise it’d be kinda hard for the kid to dance around in a tube dress to their ankles. Also, I felt that my 7 year old didn’t need thigh slits up the front… ok drink again… I digress, so I put the yarn from the bottom of her butt to her heels and made a tiny snip in the fabric to remind myself not to sew past it. The folded fabric has an open end and the folded side, I snipped the open end. FYI
Step 4: Hiccups…take a big gulp, plug your ears and slowly swallow the beer…the hiccups will go away.
Step 5: Ok either sew by hand or with sewing machine from top to butt snip area.
Step 6: The slit up the back will have to be sewn inward (sorry, don’t know the lingo) like hemmed so it’s not all frayed and ugly. I sewed the top of the slit back and forth a few times so it wouldn’t come undone, then I hemmed up the slit on both sides. 
BTW, I hope you all know to work with the inside of the fabric so you don’t see the seams, right???
Step 7: I dragged my kid over to put straight pins all over her like a voo doo doll… ok not really, but I did fold and pin all around her to gather the fabric enough to tighten around her like a strapless dress. It looked funny, but seemed to work fine.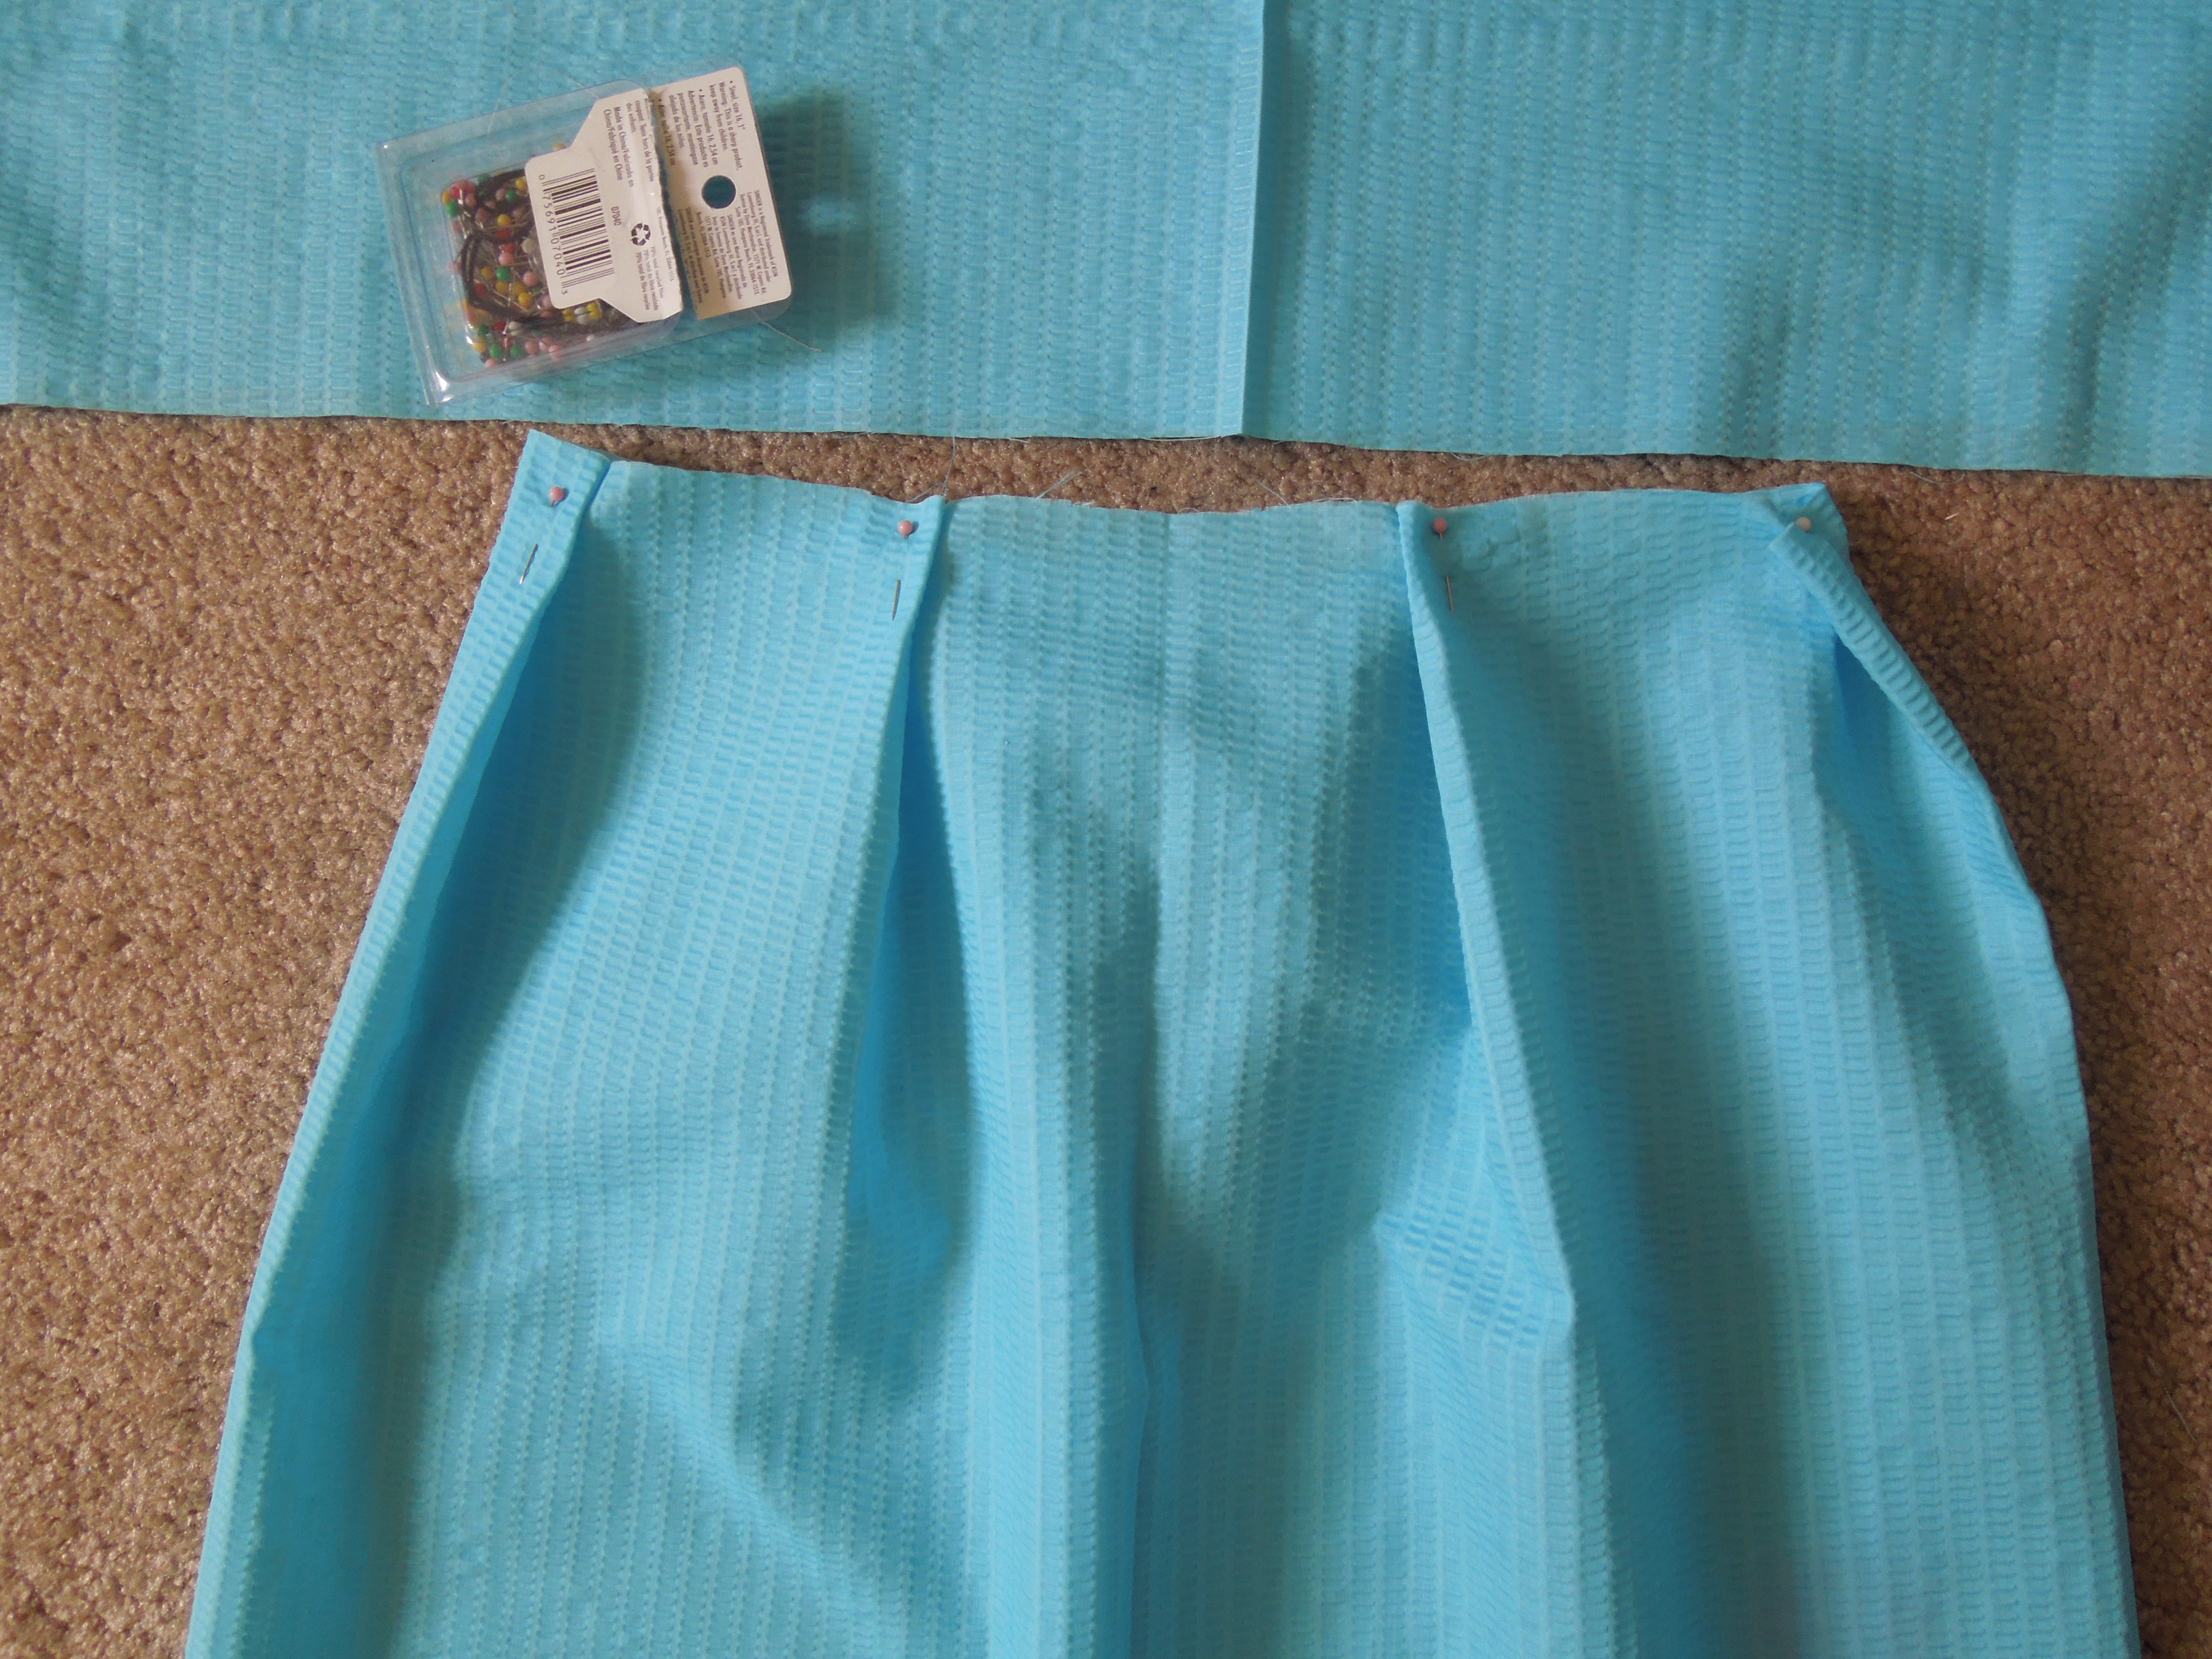
Step 8: I straight stitched across the top of it all, so I didn’t have to keep the pins in and I could adjust it as needed. Just a thought too… make sure however you fold the fabric, that it is the opposite that you want, because it’s the backside that you’re pinning and sewing.
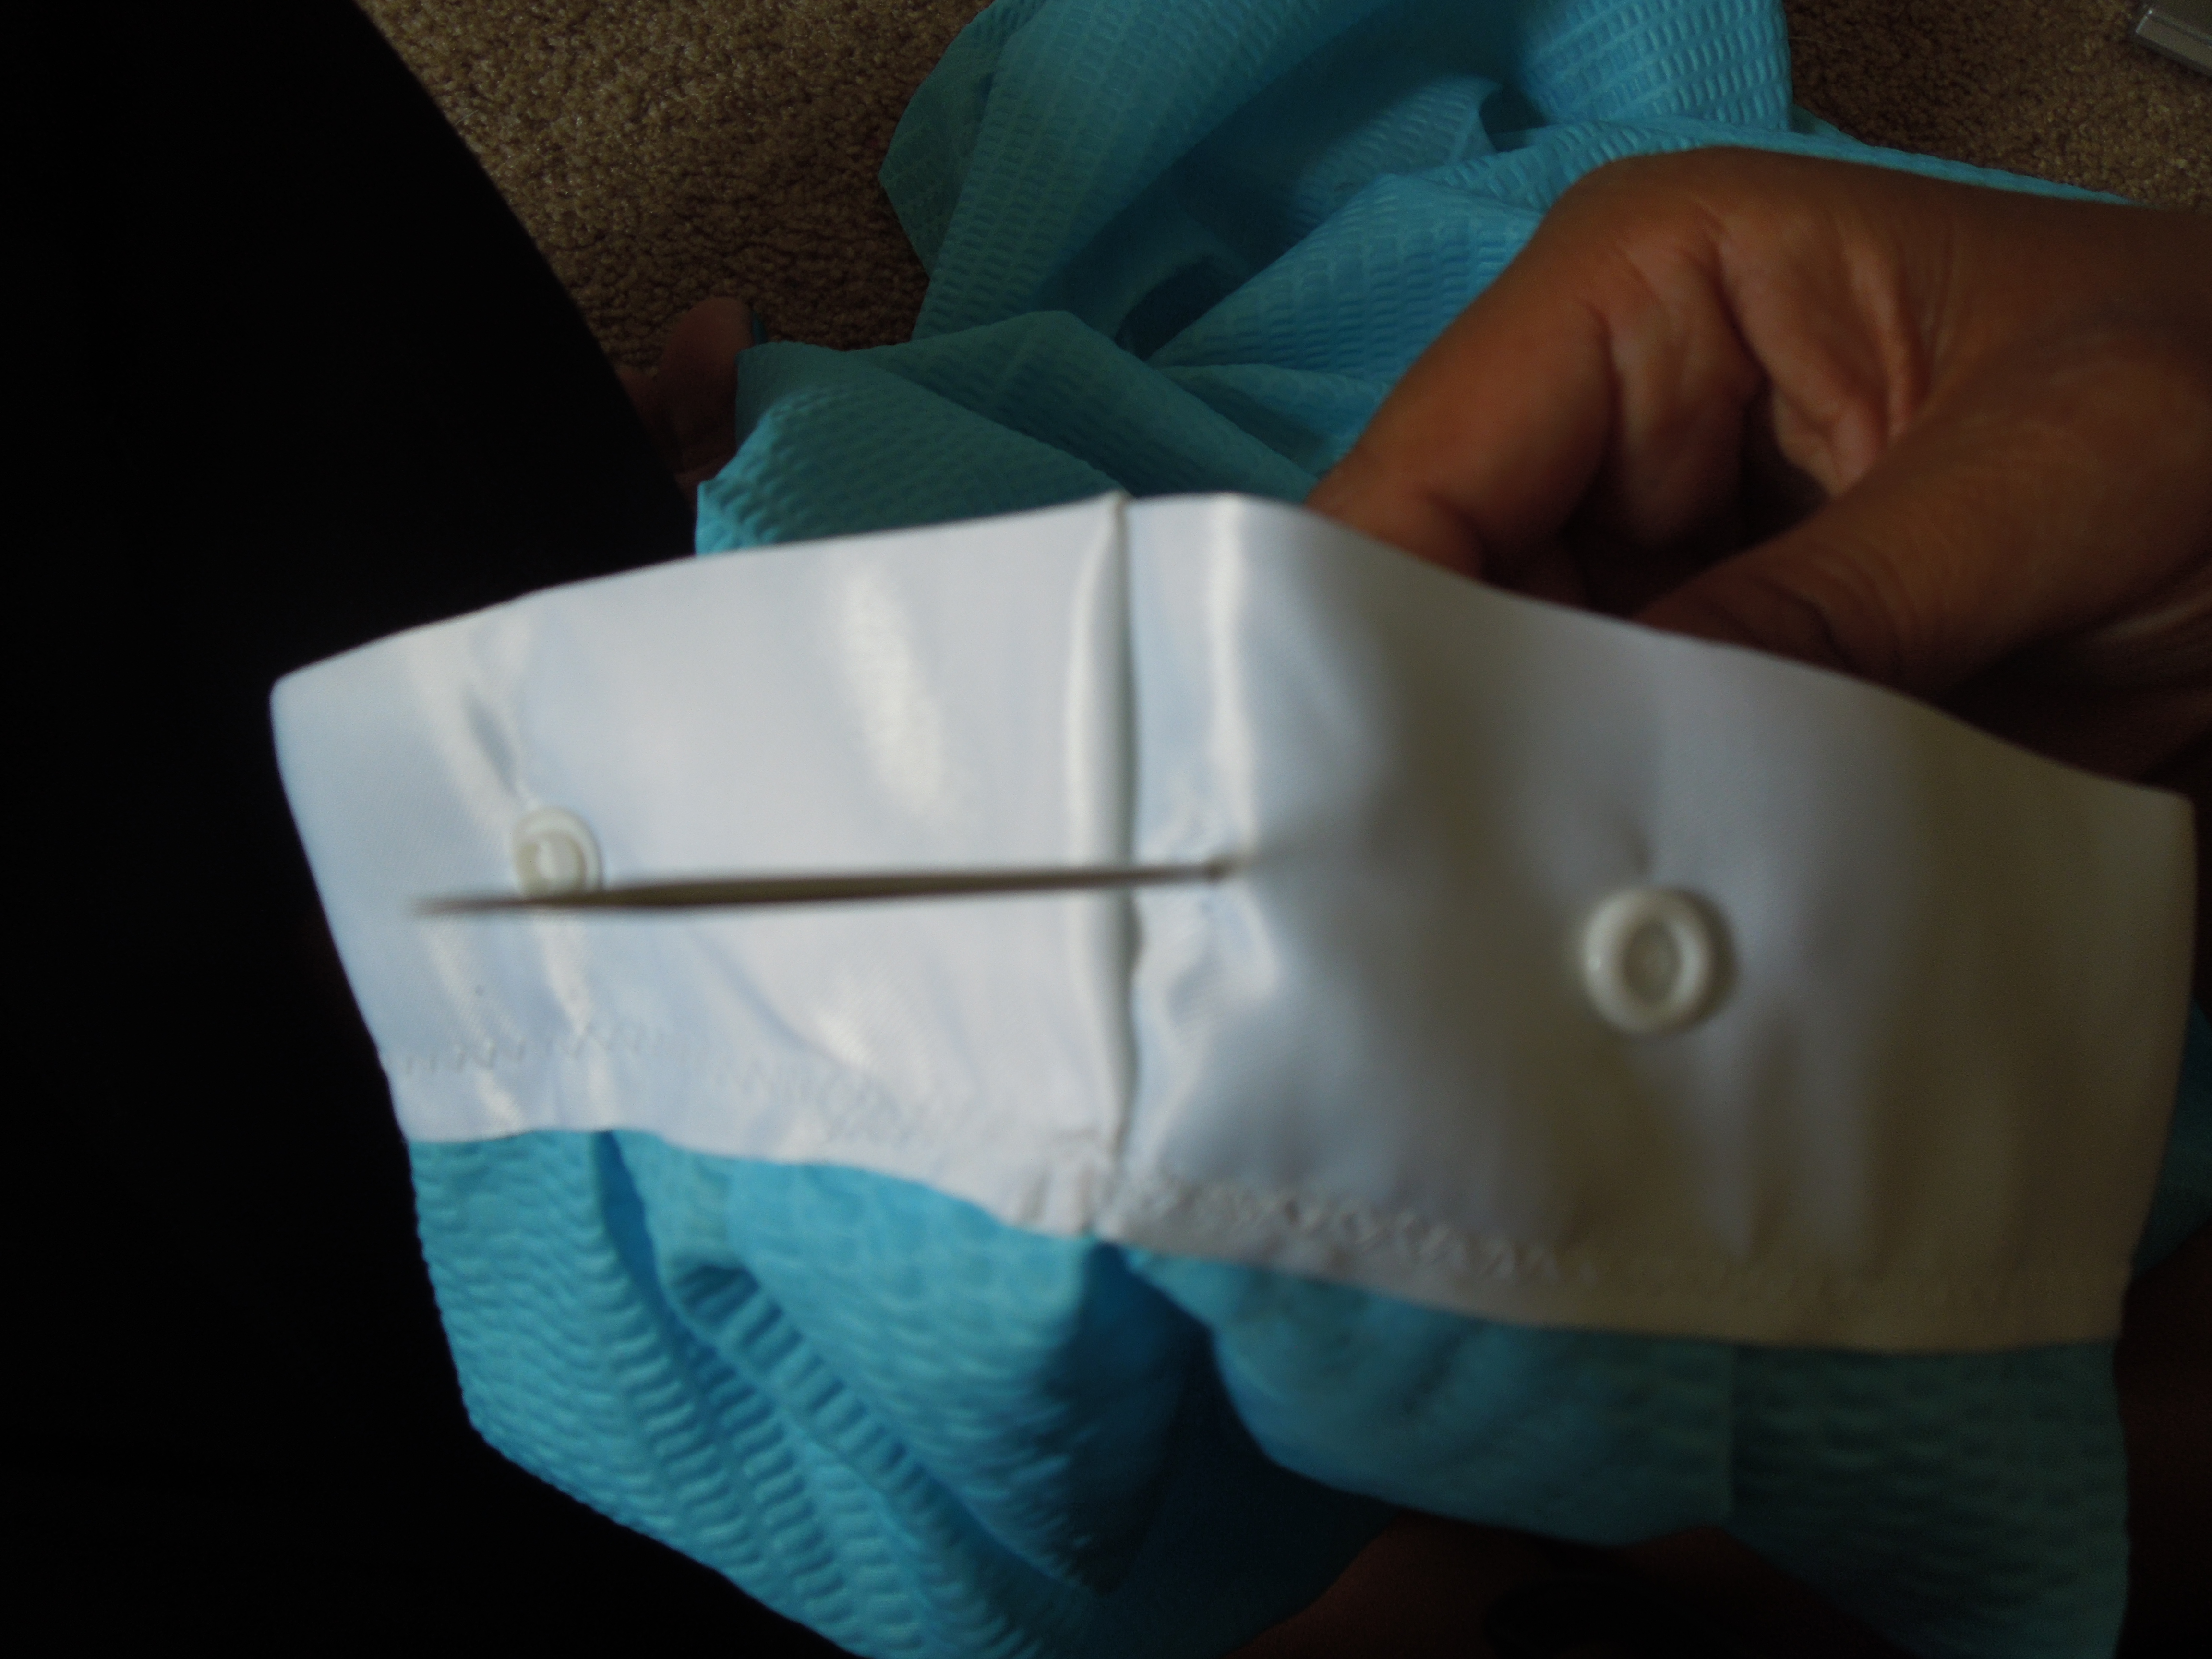
Step 9: I then took the blanket binding and covered that whole area that I just stitched, so then it looked prettier. I wish I had blue on hand, but I had white and it’s what I used.

Step 10: Go get another beer, grab on for me please…oh and go pee…
Step 11: Get kid to put it back on. First you need to make sure kid can get it on and it isn’t too small. If it is, you’re fucked and you need to donate it to your niece or nephew who is smaller. If it seems ok, then wheew, you’re going in the right direction. Next I added straps, because I felt that a strapless gown on my 7 year old was trashy. I just used the same binding shit and pinned it and sewed it on. Like this: 
Step 12: So you may have noticed the pins in my picture…yeah, my slender kid needed me to skinnify the damn dress some more through the waist…so I basically pulled, pinned and tucked on her
(inside out). Then sewed that biatch up, making sure I ended my stitches before her hip area, so it flowed more at the bottom of the dress.
Step 13: So even with all the gathering and tucking, I STILL had to put a snap in the back. You have to remember to make the dress loose enough to get it on, no girly girl wants a dress that looks like a potato sack. You can either put a snap or a button or even a few ribbons to tie it up the back tighter.

Step 14: Hem the bottom…Actually, I forgot to and had to put this step in later, because I forgot!
Step 15: Beer me! Wait, what was I doing? Oh, so pretty much last step is the cape…So there are SO many ways that you can do this. I personally HATE what I did and am going to change it tomorrow, but for now, the kid is happy with it. I just took two layers of tulle that I measured by holding it up to her back and cutting it. I attached it with snaps, because I went snap crazy today, but you can easily hand sew the corners onto the back of the dress or the back of the straps. I tried to do a twisty thing, but it looks awful, so please disregard what is in the picture and I will try to take a new one tomorrow and post. 
Sew, that is that. See what I did there? lol… The length is off a little, but the girl child loved it anyway. I personally thought the color was like an OBGYN paper gown, but it was on sale. Next time, I want to do something cooler, so stay tuned please! I’m thinking Viking gear… Any and all comments are welcome…even the mean ones, we all have a voice and should learn to use it. Tipsy crafting is WAY fun, but tipsy blogging is quite difficult.
This is how we should all end the night…


